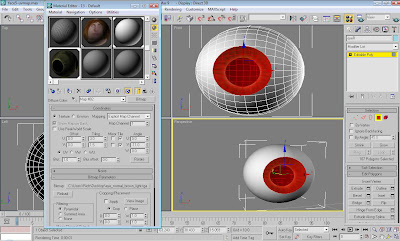
The final part of the face I needed to tweak and add more detail to was the eye area.
I wanted to add an object to be the eye ball. I made a sphere and turned it 90 degrees on its X axis. Using the scale tool I manipulated the object to better fit the eye socket, then under the vertex selection tool I moved points around the eye to better fit the sphere.
The next part would be to add the texture to make the eye look right. I copied the eye object, scaled it down and then moved it so it was slightly inside the bigger sphere.
I used the boolean tool to cut out the smaller object, leaving an indentation inside the bigger sphere. With the materials box open I changed the colour of the sphere to a dark white.
I turned the sphere into an editable poly and selected the polygons that make up the indentation area. This would be where I will apply the texture of a pupil.
I downloaded a basic eye texture from Google, and imported it into Photoshop. Using the Hue/Saturation tool under Image Adjustments, I could turn the colour from brown to a dark green.
I then applied the image to the eye.
Under the materials menu I played around with the gloss and specular levels on the sphere object and the eye texture. This gave the eye a bit of a realistic shine.
To make sure I got the same result on the other eye I used the symmetry option to copy the sphere and get it into the right position on the other side of the face.
Sunday, 18 October 2009
Subscribe to:
Post Comments (Atom)


No comments:
Post a Comment