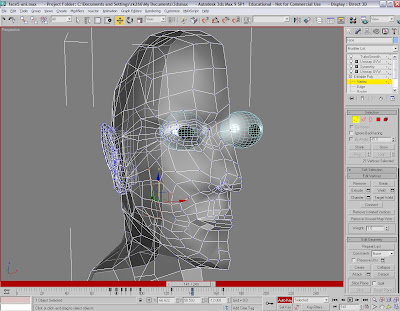
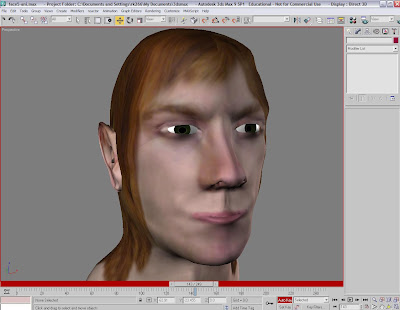
With the model now finished I wanted to spend the remaining time left making the face animate a bit. Whilst I spent too much time pulling faces in my mirror, it gave me the information I needed to pull the verticies on the face map to portray a realistic emotion.
Within the editable poly's sub selection mode I played around, tweaking the points to see how well I could manipulate the face whilst still keeping it realistic.
By selecting a group of points in a certain area of the face and pulling them in a direction I found I could get some pretty good results. I wanted my characters face to go from a smile to a scowl and back again. First I had to disable the Unwrap UVW modifiers to have access to the editable poly selections. I turned on Auto Key at the bottom to activate the time line for animating then selected the points on the cheek to pull them up.
I then selected the points around the eye and drew them closer together, making the eye smaller. I also pulled a lot of the points around the forehead and just under the eye closer together as well.
To try and make the face realistic when moving I moved a lot of points on the face, because as in real life everything on the face is connected and it all moves together. So this is what I was trying to simulate. The images below show the smile and scowl faces.
As a final touch I also added a small amount of unrealistic but slightly comical facial movements such as rolling of eyes and a short flapping of the ears. The eyes involved picking a point on the time line, setting a key, then moving ten frames on, rotating the eye ball to a particular direction. 3Ds Max automatically animates the movements in between. The ear was also very simple, I just pulled out points and rotated them slightly to give a flapping effect.
Before rendering I added two spot lights to the scene to light up the face. I turned shadows off to avoid any kind of odd shadows appearing on the face.
Under Rendering and Environment I chose a slightly lighter black colour for the background rather than jet black background.
Below is the final render for the animation. I set the resolution to 1280 by 800, a higher resolution than the standard 800 by 600 and is ideal for wide screen laptop monitors. I also rendered the animation as a .MOV file, ideal for users running Windows as well as Macintosh.
I created a second render at a lower resolution which was more suited to uploading on to Blogger.
Monday, 19 October 2009
Subscribe to:
Post Comments (Atom)


No comments:
Post a Comment